
Easy 4 Step Guide on How to Make No-Sew, Non-Farmhouse Style Drop Cloth Curtains
I love the texture and fabric of a drop cloth and love the laid back style of drop cloth curtains, but wasn’t loving the short flap, farmhouse version I’ve always seen all over the Internet.
So I came up with a cozy, non-farmhouse version, if you will, that mimics a more traditional, classic “fancier” curtain, with a laid back homey style. Clear as mud? Haha! Let me show you what I mean….

Get it now? Most people won’t even know their drop cloths, with their longer style flap that has a more upscale, pleated feel.
You have the option of bleaching the drop cloths, but I have found that it’s not worth the trouble. If you want stark white curtains, this method isn’t for you.
Here’s what you need to create this look:
4x12 drop cloths - one per window unless you want an extra full look, you can install two per window. I got mine at Harbor Freight and used a coupon.
1 pack 7 ring clips per panel
*Curtain rod installed
It’s worthy to note here, something I’ve never heard anyone else say: Make these at your own risk… Remember, painter drop cloths are estimated lengths. Understand that when you’re buying a drop cloth, you’re buying exactly that, and not a designer-cut piece of fabric. Some lengths may be longer or shorter than what it says on the package. In my case, when that happened, I put the shorter behind a couch.
I wash and dry the drop cloths first, but understand that may shrink them. Again, you make that decision. You can iron or steam them (I don’t), as well. I’ve never needed to do that, as the dryer takes care of that for me.
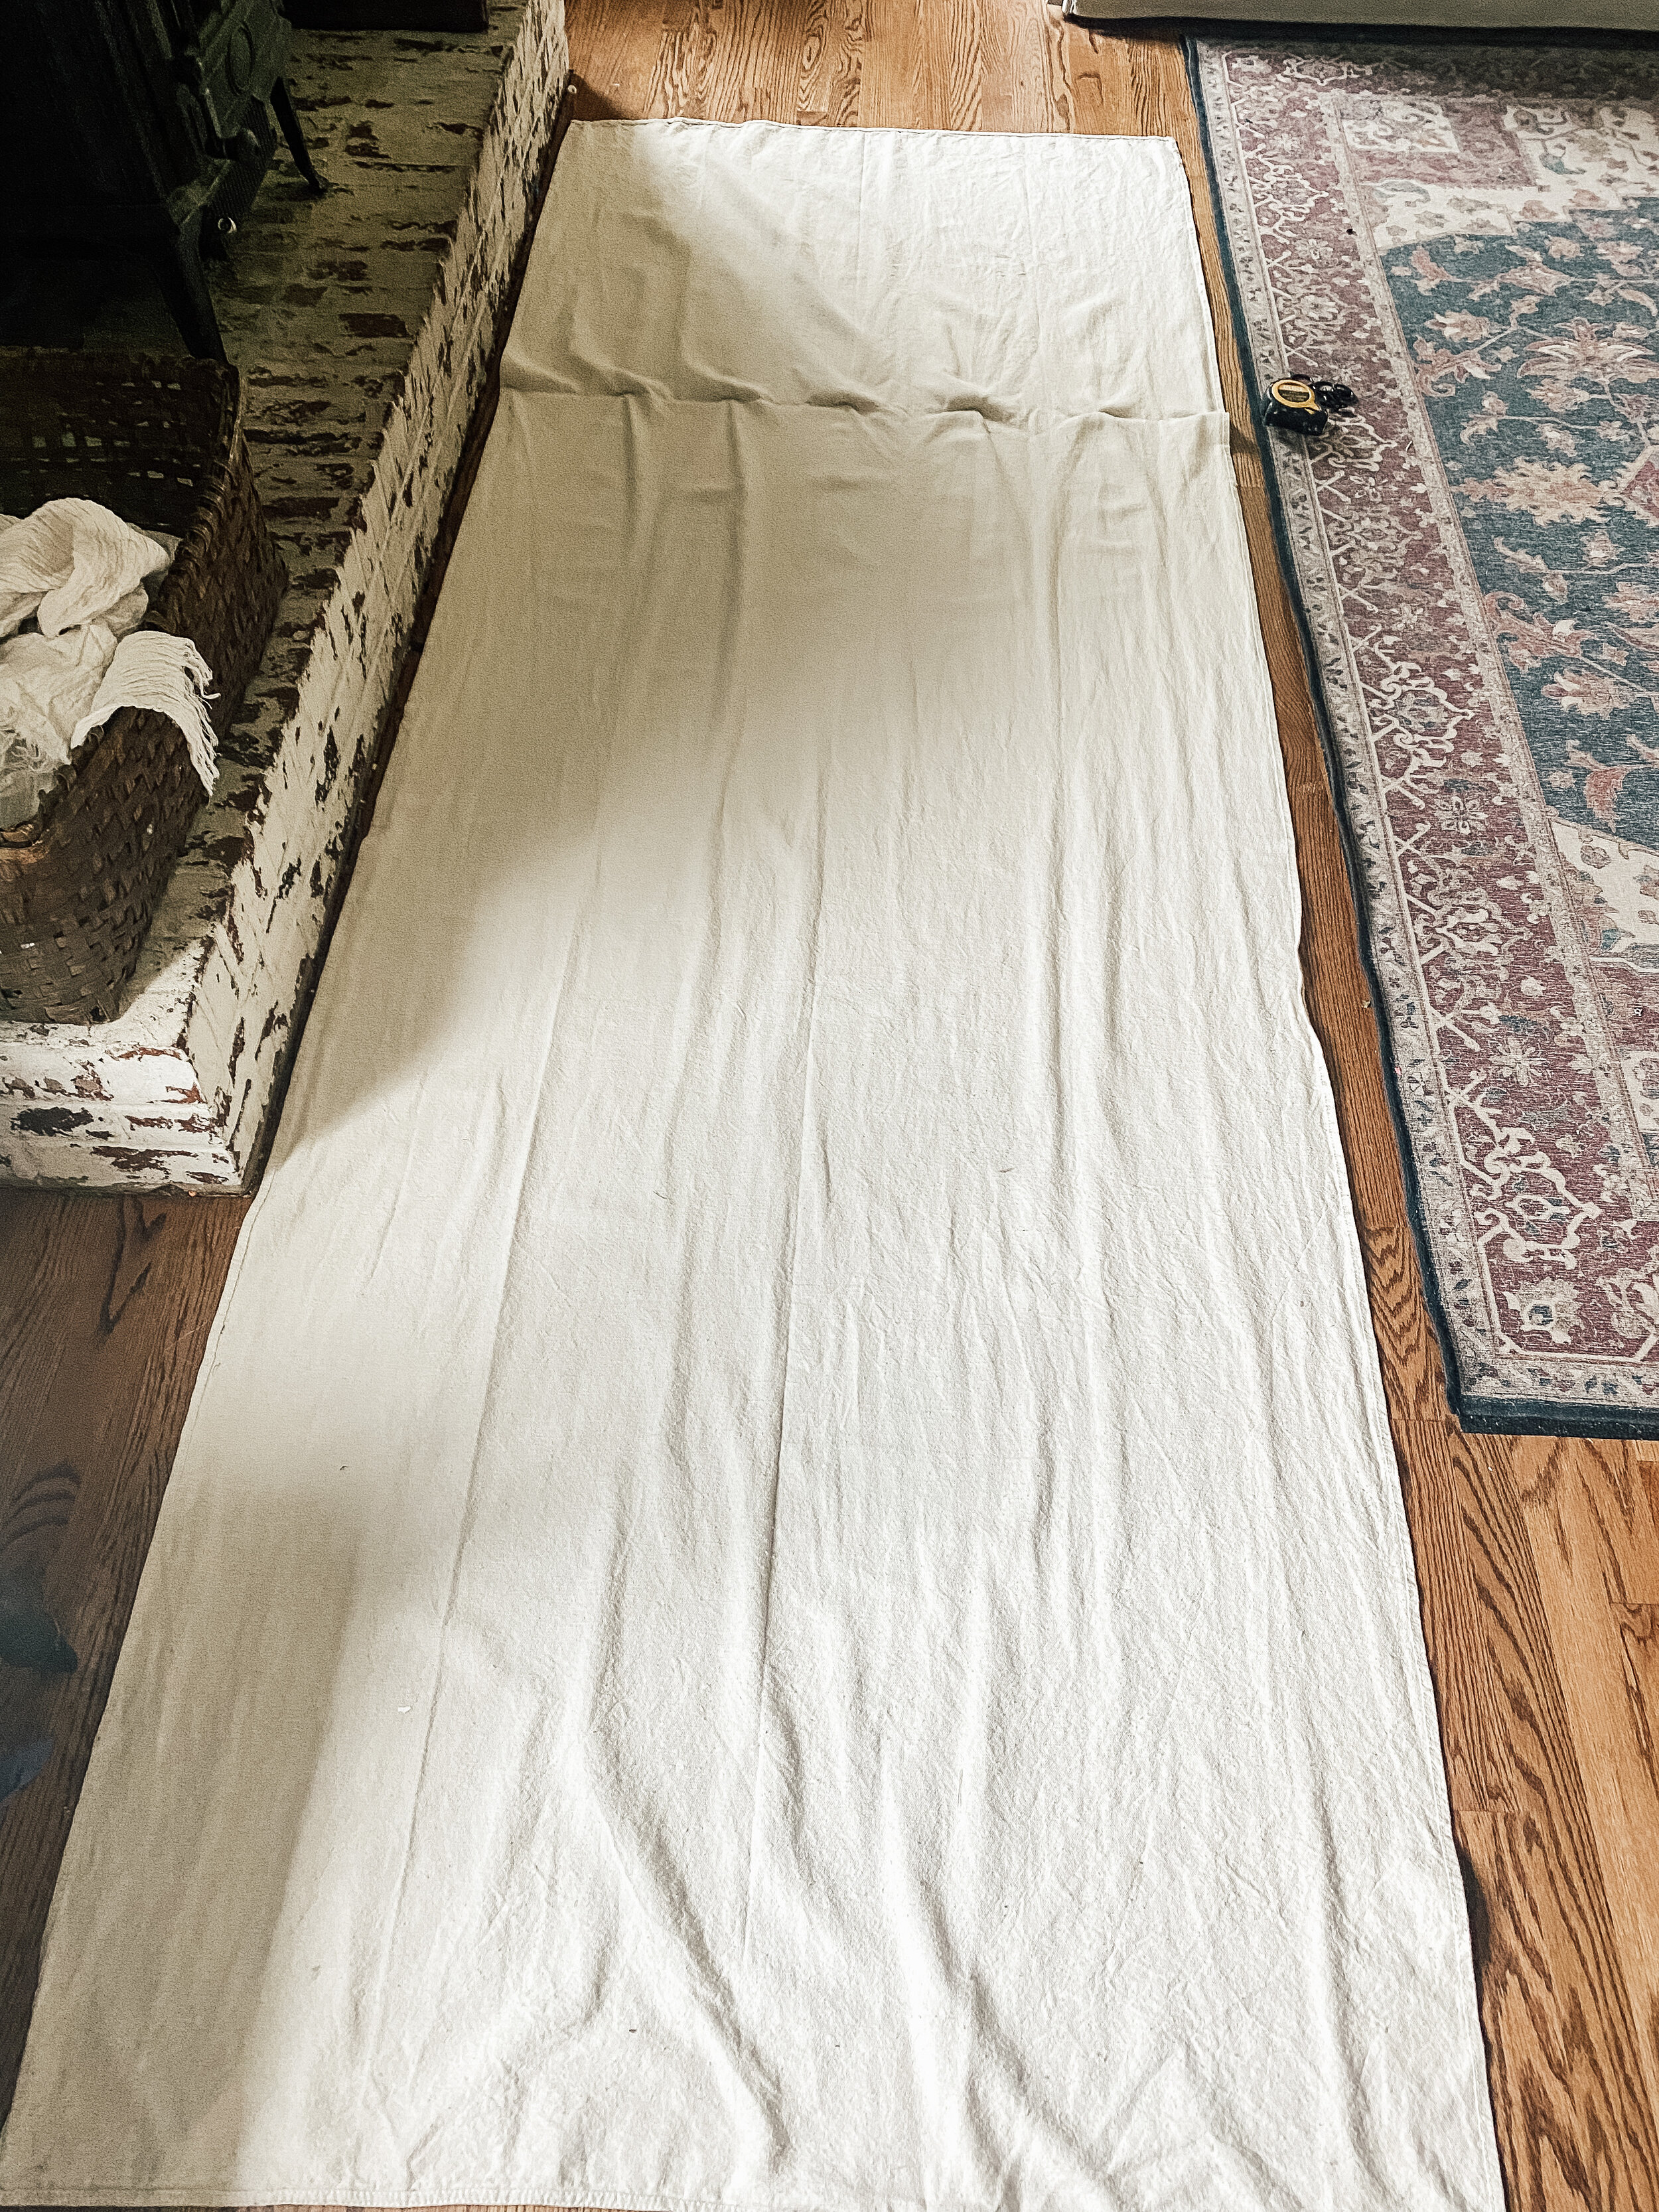
Step 1.
Lay the drop cloth lengthwise on the floor.

Step 2.
I placed my curtain rods at 8 inches above molding, 11 inches over from molding, and 3.5 inches from ceiling to create the illusion of a larger, more grand window.


Step 3.
I then measured and decided where I wanted the flap and where I wanted the bottom of the panel to reach the floor- barely touching or pooling on the floor. I decided I needed the flap at 35-36”.

Step 4.
Fold the flap over and make sure to space the clips out evenly. I start by placing a clip on each end and in the middle. Then, on one end, I divide it so that I can evenly add two more clips, and do the same on the other side.


Hang, adjust as needed, making sure that the flaps are the same length on both windows. That’s important as that is what your eye will see. Length isn’t as important.
Enjoy!

Make Your Own
**This post may contain affiliate links – you can read my full Disclosure HERE**
